Creating A GIF
The first step is to create a new project, then import your image. The second step is to create two duplicate layers. You can do this by clicking on the top right menu, which is displayed in the screenshot above.
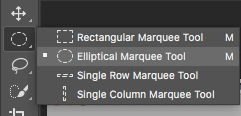
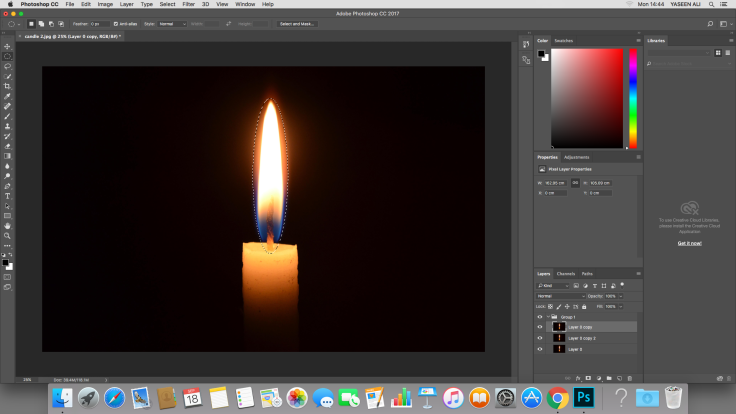
After you have created your two duplicate layers, you want to select the first duplicate. The third step is to use the marquee tool. Depending on your image you can choose which shape works best for you. In this this case I used the elliptical marquee too. This was best for me as the candle flame was a spherical shape.
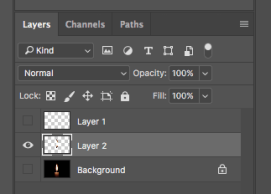
The fourth step is to press ‘cmd’ and ‘j’ at the same time. This will create a new layer and cuts everything out, except the highlighted part. After that you need to hide all the other layers. This is down by clicking on the eyes next to the layers. I have hid layer 1 and the background in the screenshot above. This is what you want it to look like.
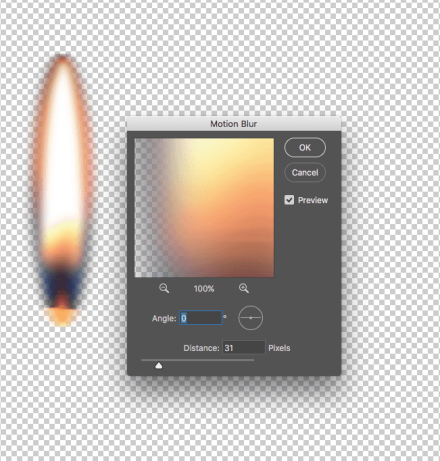
The fifth step is to pick your effect. For this instance I used blur. The type of blur I went for was the motion blur. This is found in the ‘Filter’ panel. After you clicked on your chosen blur a box will appear with the picture zoomed in. This can be moved around simply by dragging the picture in any picture. The small box is showing you a preview of what the image will look like after you have chosen the distance for the pixels. You can increase the blur effect by increasing the distance. In the screenshot above I have the distance set to 31 pixels. The reason I chose 31 pixels was because it looked realistic. If I kept going higher and chose something around 50 – 60, the blur would make the image look non realistic and pixelated.
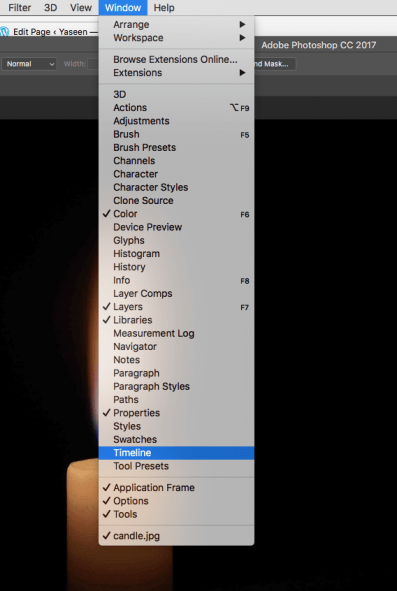

The sixth step is to go to ‘Window’ then to ‘Timeline’. As shown in the screenshot. After you have clicked ‘Timeline’ a new menu will open at the bottom of the screen. The bottom menu will give you the option for either creating a ‘Video Timeline’ or ‘Frame Animation’, you want to choose frame animation.
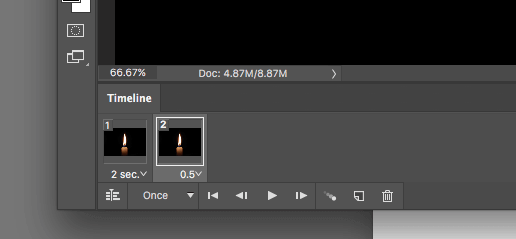
Once you have created the animation and picked the time frame. Then you must create a new layer after every frame.
